Showing posts with label Pastry. Show all posts

Wednesday, December 18, 2019

Cranberry Port Cookies: 12 Days of Cookies Day 9


It can be a challenge each year to find Christmas cookies that are new and different. I have found, though, that many folks make tried and true classic recipes for their Christmas cookie trays. One of my fondest memories of Christmas was when we got a tin of cookies from Grandma. I know she didn’t make different recipes, in fact I remember that her tins contained peanut butter cookies, chocolate chip cookies, and surprise cookies. Not fancy, but that’s what I looked forward to each year.

When I was choosing cranberry recipes this year, I came across this recipe in a compilation of Christmas cookies. They are kind of 
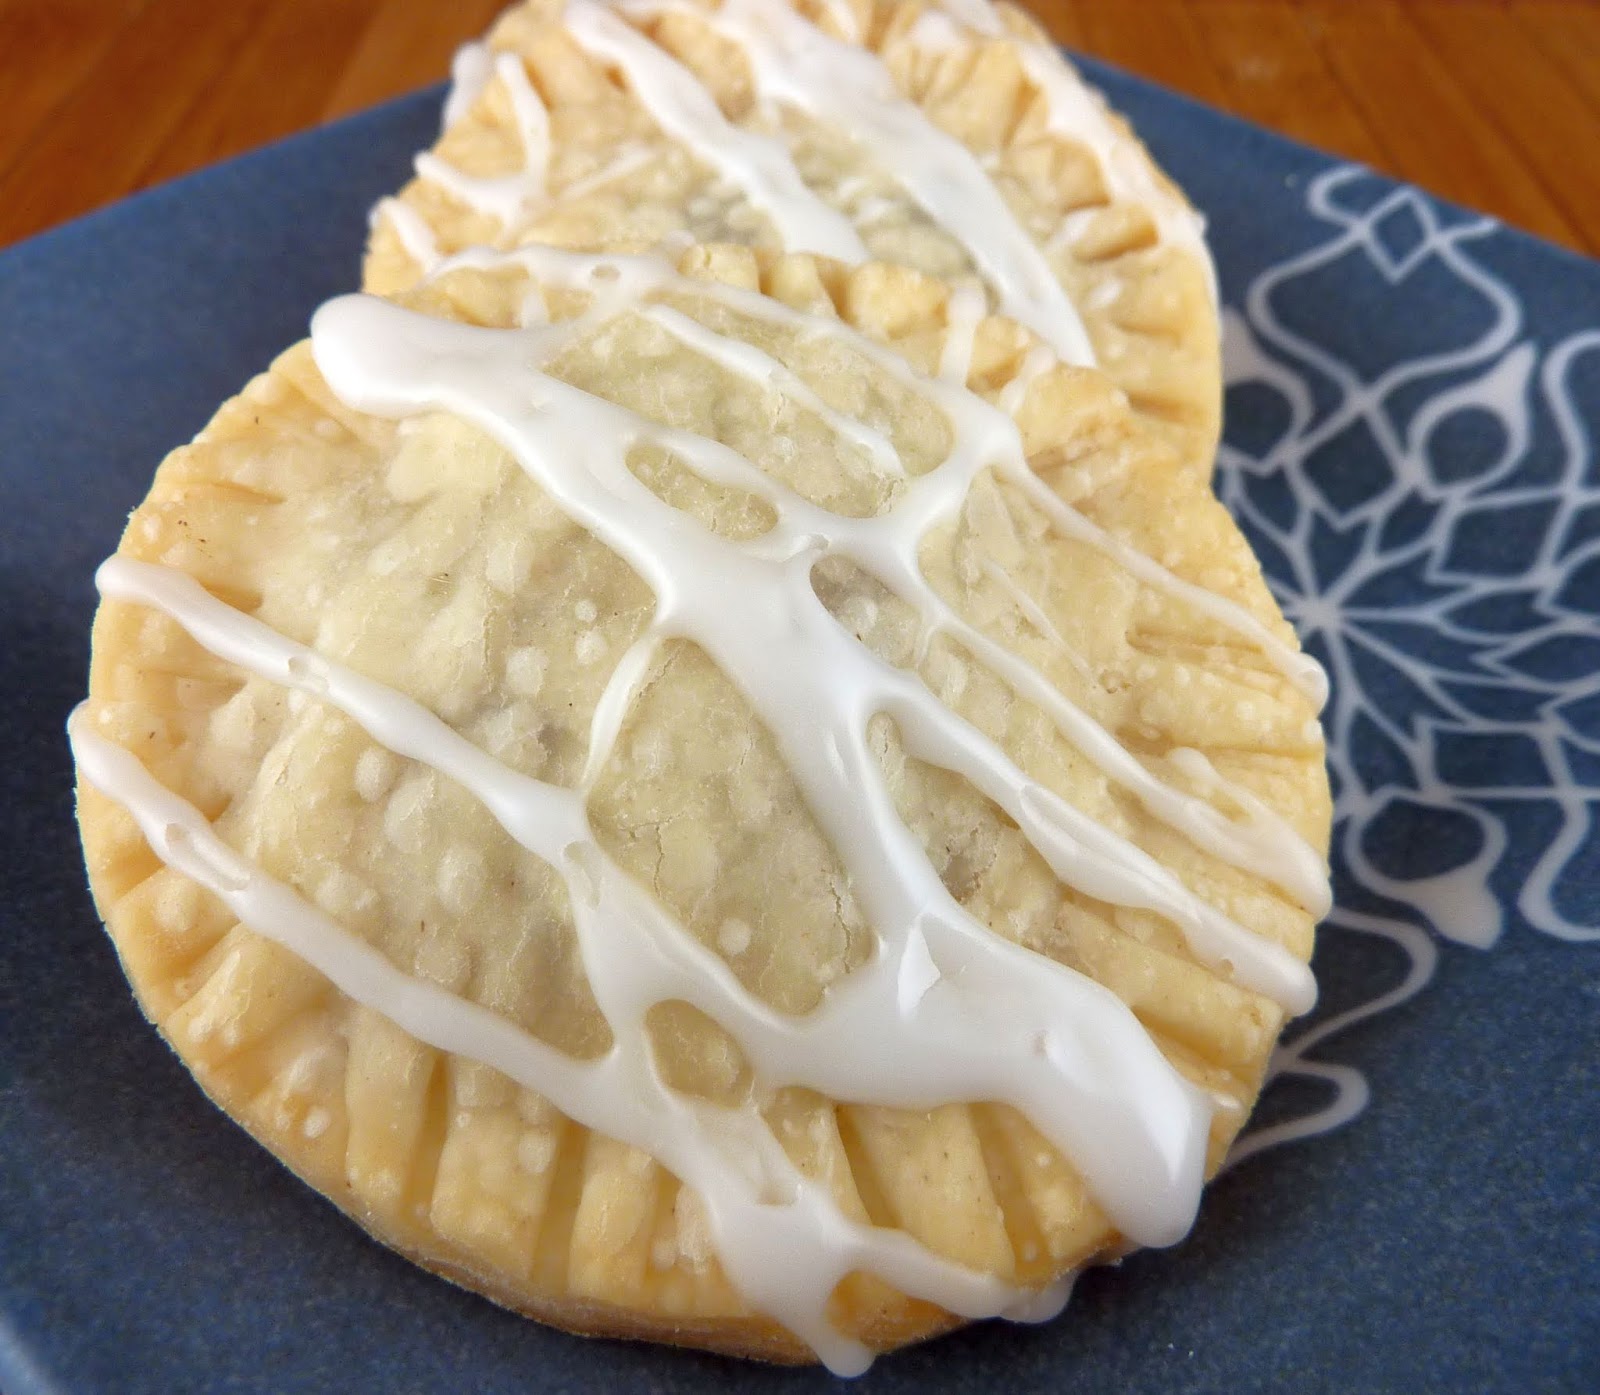
different, as they use pie crust as the basis of the cookie, but that’s ok. The filling is simple, and it cooled very quickly. I made the filling and the cut out the pastry rounds while the filling was in the refrigerator. These turned out well, so I should check out the other cookies in that compilation!

I halved this recipe, which is what is shown here. The original recipe called for double the pastry and using 4 rounds of pastry seemed excessive. You are supposed to cut 21 rounds from each piece of pastry, which I think is impossible. I got 18 rounds from each piece, and that made 18 cookies total. I also used every bit of the filling, so I felt like 18 was the right number. It feels like they didn’t seal, but I had no problem while they were baking. I made the icing and it is very thick, so I added a little vanilla and that helped.  These are really different and are an interesting addition to holiday baking.

Cranberry Port Cookies
2/3 cup dried cranberries
1/4 cup sugar
1/4 cup port wine
1/8 cup water
1/2 teaspoon lemon zest
1/2 tablespoon lemon juice
1/4 teaspoon ground cinnamon
Pie crust (for a double crust pie)
   
1 cup powdered sugar
1-1/2 tablespoons water
1 tablespoon light corn syrup
¼ teaspoon vanilla

In a small saucepan, combine the cranberries, sugar, port wine, water, lemon zest and juice, and the cinnamon. Heat on medium high until the mixture boils. Boil for 2 minutes and then remove from the heat. Transfer the mixture to a food processor and then process until chopped. Allow to cool completely.

Heat the oven to 375 degrees. Line two baking sheets with silicone baking mats.

Roll the dough about 1/16” thick. Using a 2-1/2-inch round cookie cutter, cut out 36 rounds. Place about 1 teaspoon of filling on half of the rounds and top with a plain round. Press around the edges with a fork to seal.

Bake for 14-16 minutes, until the cookies are golden brown. Allow to cool before icing.

Make the icing: in a small bowl whisk together the powdered sugar, water, corn syrup, and vanilla. The icing will be thick. Drizzle over the cooled cookies.     

Recipe from Taste of Home

Monday, December 16, 2019

Mincemeat Pastry Squares: 12 Days of Cookies Day 8


Each Christmas I make Mincemeat Pies, but I usually have a jar of mincemeat somewhere in the house. I try and make at least one mincemeat cookie each year, and it can be difficult to find just the right recipe. This year, I came across these pastry squares, which are an old-fashioned cookie. The original recipe calls for any variation of dried fruit, bit I decided that mincemeat would work really well in these cookies. Mincemeat has slightly more moisture, but it’s very similar.

Whenever I read in a recipe that you have to roll out the cookie dough to a certain dimension, I worry. I’m not that talented at rolling out dough, but I do the best that I can. My dough was close to the proper dimensions, but not quite. After I filled the dough and covered the filling, it was not the right size to cut into 16 pieces. 9 pieces make better sized cookies but depending on how talented you are at rolling out dough, you may want more or less pieces.

I admit that these cookies are on the messy side, and I suppose that dried fruit would be slightly less messy. The cookies are old-fashioned, but they taste excellent. I love mincemeat in everything, and these cookies are no exception. I didn’t have fancy sugar, but regular sugar worked just as well. (Ok, I had orange sanding sugar, but that would have been weird.) These take some time, but add an interesting variation to a Christmas cookie tray.

Mincemeat Pastry Squares
1 3/4 cups + 2 tablespoons flour
1/2 teaspoon baking powder
1/4 teaspoon salt
1/2 cup butter
3/4 cup sugar
1 egg
1 teaspoon vanilla
1 teaspoon lemon zest
1 cup mincemeat
1/4 cup coarse sugar

In a medium bowl, combine the flour, baking powder, and salt and whisk together. In a large mixer bowl, beat the butter and sugar on medium until smooth. Add the egg, vanilla, and lemon zest and mix to combine. Add the flour and mix on low until incorporated. Divide the dough in halves and wrap each half in plastic wrap. Refrigerate for at least 2 hours.

Heat the oven to 350 degrees. Line two baking sheets with silicone baking mats.

Allow the dough to come to room temperature before shaping. Roll each half of dough into a rectangle
8-1/2” by 16-1/2”. Spread half of the mincemeat on the bottom half of the short side of the dough. Fold the top over the filling. Top the dough with the coarse sugar and pat to help it stick. Cut into squares, either 9 or 16 squares depending on the size of the dough. Place the cookies on the prepared cookie sheets. Repeat with the remaining dough, mincemeat, and sugar.

Bake for 12-14 minutes, until lightly browned. Allow the cookies to cool on the baking sheets for 10 minutes before carefully removing to a wire rack to cool completely.

Recipe adapted from Food Gal

Friday, April 22, 2016

Pepperoni Pizza Quiche


This month’s What’s Baking theme is quiche, which really opens up a world of possibilities. I make quiche or frittatas for dinner every once in a while, and they are a great, quick dinner. My husband likes quiche, too, which is great. I went looking for something interesting, beyond the traditional ham and cheese quiche and I found this recipe for pepperoni pizza quiche. I figured that would be a winner since my husband is such a big fan of pepperoni pizza.

This recipe only uses 3 eggs, which isn’t a lot of for a quiche. The filling also has evaporated milk, which in the end gave this quiche a lovely consistency. This was very easy to make, and we really loved it. The ingredients can be whatever you have. I used turkey pepperoni since it has less fat, and used a combination of shredded mozzarella and shredded Mexican blend, as that was what I had on hand. We added mushrooms. You could really use any combination of meat, cheese and vegetable add in.

As I said, my husband and I really loved this. It was quick and easy to make and tasted wonderful. The texture was nice and creamy, but didn’t have the feeling of being under baked. This will now be my go to recipe for quiche, and I can change up the mix-ins depending on what we have on hand. Thanks to this month’s host, Liz of Hezzi-D’s Books and Cooks .
   
Pepperoni Pizza Quiche
1 unbaked 9-inch frozen pie shell
5 ounces sliced mushrooms
8 ounces shredded cheese, divided
2 ounces sliced pepperoni, quartered, divided
12 ounce can evaporated milk
3 eggs, beaten
2 tablespoons flour
1 teaspoon dried Italian seasoning
1/8 teaspoon garlic powder

Preheat oven to 350 degrees

Sauté the mushrooms over medium heat until cooked. Allow to cool slightly.

Into the bottom of the pie shell, sprinkle 1 cup of the cheese, half of pepperoni pieces and the cooked mushrooms. In a medium bowl, whisk together the evaporated milk, eggs, flour, Italian seasoning, and the garlic powder. Pour the egg mixture into the pie crust. Top with the remaining cheese and pepperoni. Place the quiche on a baking sheet.

Bake for 40 to 45 minutes or until knife inserted near center comes out clean. Cool for 5 minutes before serving.

Recipe from Nestle